1
Create a Pixelate Asset from your model
In the Project window, select one or more models, prefabs or particle prefabs. Then choose Assets > Create > Pixelate > Pixelate Asset (also in the Project window’s right-click Create menu).Pixelate Pro creates one Pixelate Asset per source, next to it, named after the source (
{source name}.asset). Each new asset is ready to preview:- Source is assigned.
- Cell Size and Camera Offset are fitted around the model so the whole thing is in frame.
- Animation clips the model imports are added to Animation.
- A Style Profile is linked. If your project has none of its own yet (the sample profiles don’t count), Pixelate Pro creates
StyleProfile_Defaultwith an automatic color palette and lighting.
2
Look at the Preview
The Preview sits at the bottom of the Inspector. It shows exactly what Export writes. Use the toolbar to pick a clip, press play, switch the camera view, or switch between Lit, Unlit and Normal.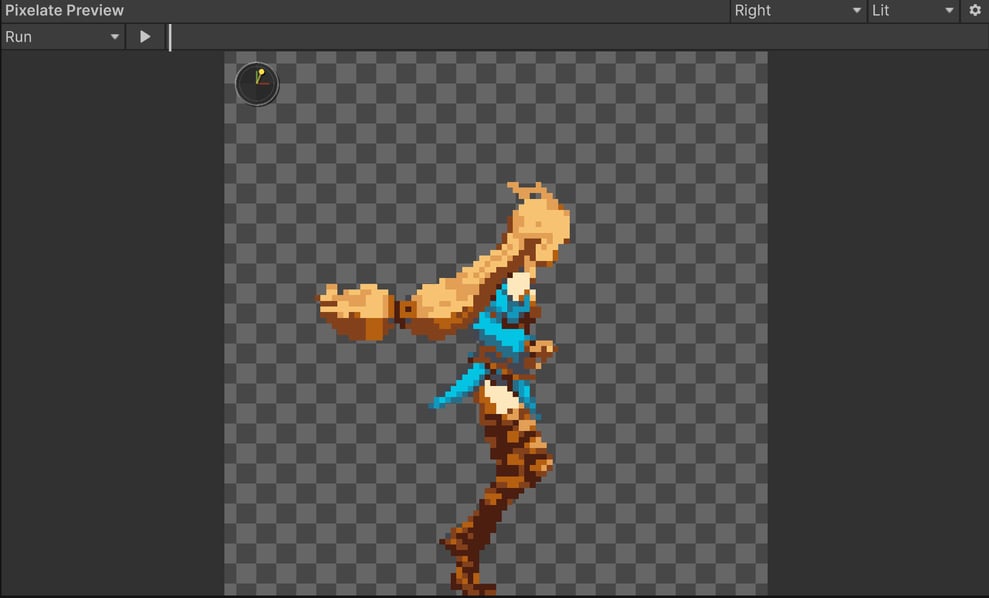
3
Export
Click Export at the top of the Inspector. A short status message appears under the button when it finishes, for example Every sheet is imported as a Sprite (Multiple), sliced on a fixed grid, with Point filtering and your profile’s Pixels Per Unit.
Exported 4 textures and 2 animation clips.By default the sprites land next to your Pixelate Asset:Drag one of the exported
.anim files onto a GameObject that has a SpriteRenderer, press Play, and the character runs.Next steps
Add directions
Capture 4, 8 or 16 directions for top-down characters.
Tune the look
Change palette, lines, dithering and lighting for every asset that shares the profile.
Game-ready outputs
Animator Controllers, Sprite Libraries and normal maps for 2D lights.
Many assets at once
Validate and export a whole project from the Browser window.