Create and link a profile
- In a Pixelate Asset, click New Style Profile next to the empty Style Profile slot. The profile is created next to the asset and linked.
- Or choose Assets > Create > Pixelate > Pixelate Style Profile, then drag it into the asset’s Style Profile slot.
- To link one profile to many assets at once, use the Browser window.
Profile Settings
Every profile starts with Profile Settings. It is always first, and you can’t remove or disable it.
Capture always uses your project’s active render pipeline (URP or Built-In), so there is nothing to set for it.
Effects
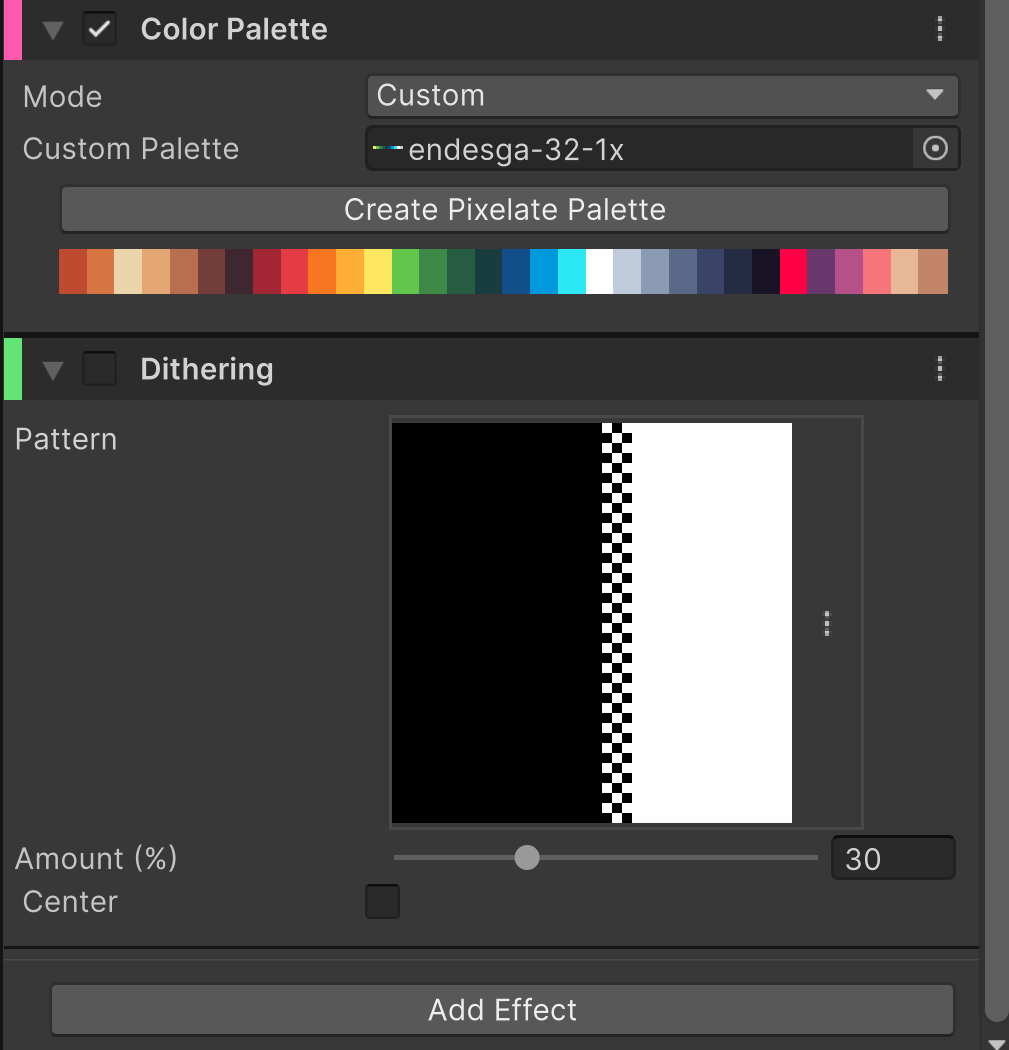
Effects always run in a fixed order, and the list shows them in that order, so you can read the stack top to bottom: Profile Settings, Lighting, Color Adjustments, Color Palette, Pixel Cleanup, Dithering, Lines, Palette Swap. You don’t need to arrange them.
Each effect has:
- a checkbox in its header to turn it on or off without losing its settings;
- a menu (the three dots) with Reset and Remove;
- a foldout you can collapse. Collapsed effects still show their warnings in the list below.
Override a value for one asset
In a Pixelate Asset’s Inspector, each effect field has a checkbox on its left. Tick it to give this asset its own value; untick it to follow the profile again.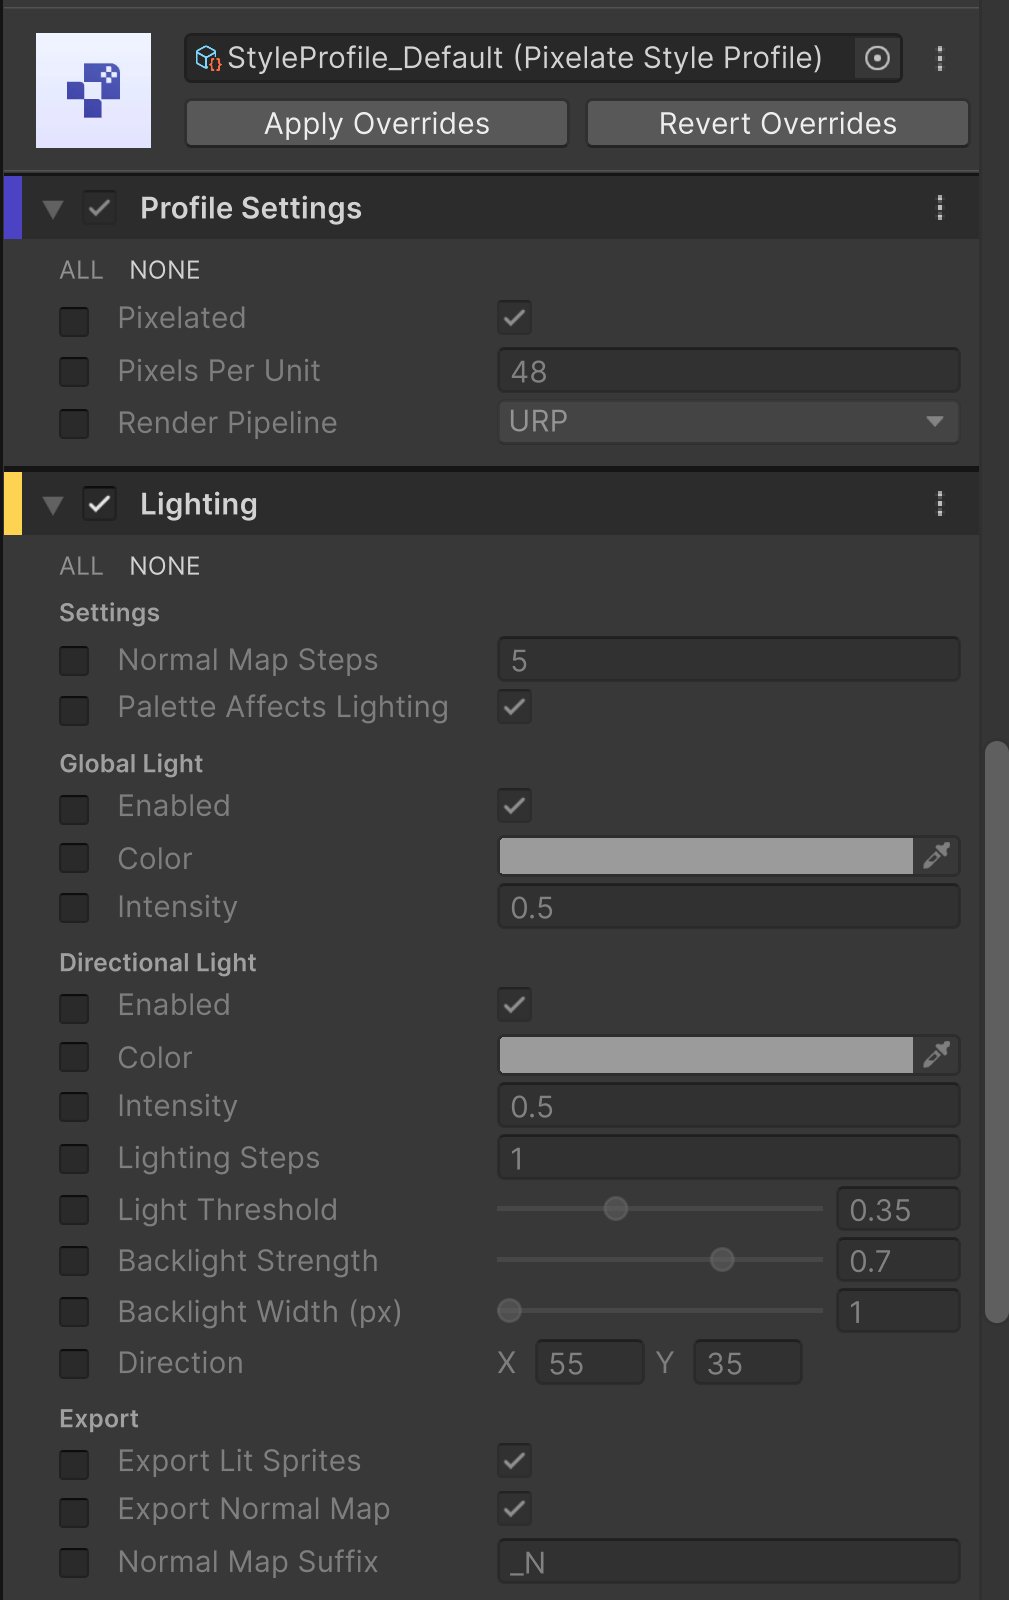
- ALL / NONE above an effect’s fields tick or untick every override of that effect.
- Apply Overrides copies this asset’s override values into the profile, then clears them. Every asset using the profile gets the new values.
- Revert Overrides removes this asset’s overrides so it follows the profile exactly.
Replacing or clearing an asset’s Style Profile also clears its overrides for the old profile. It is one Undo step, so Edit > Undo brings back both the profile and its overrides.